LED RMA Failure Investigation: How to Send Failed Samples and Useful Evidence
This guide covers that submission step: what to preserve at the moment of failure, what to record, how to select and ship samples, and what the analysis report has to return before a claim is closed. The diagnostic techniques themselves belong to the failure mode literature, and a sample that arrives intact is the prerequisite for all of them.
Quick Answer: What an RMA Investigation Actually Decides
An investigation decides three things: whether the failure is confirmed at all, what caused it, and whether the cause sits with the component, the assembly process or the application. The third answer is the one that changes a purchasing decision, and it is also the one that is most often left blank because the evidence needed to reach it was discarded.
For OEM LED procurement, the practical consequence is that a claim is not a complaint about a part. It is a request for a technical finding that the buyer can act on: replace a lot, correct a process, or change a design rule. A submission that cannot support any of those actions returns a replacement and no learning, and the same failure reappears in the next build.
Before the RMA: Preserve the Evidence at the Point of Failure
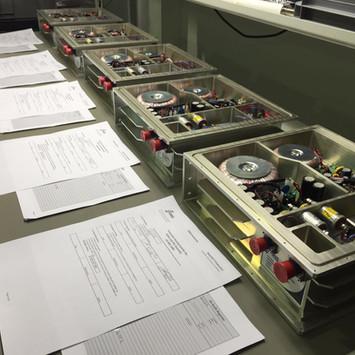
The most valuable evidence is destroyed by handling. A board that has been reworked, cleaned or re-tested before it is documented has lost the conditions that produced the failure, and no amount of laboratory work afterwards recovers them. The first rule is therefore to stop touching the unit once it is identified as a candidate sample.
Record the operating state at the moment of failure while it is still measurable: the forward current actually flowing, the duty cycle or scan ratio, the ambient temperature, the supply voltage and the number of hours the unit had run. Note whether the failure was permanent or intermittent, and whether it moved when the board was flexed or warmed, because that observation alone often separates a solder joint from a die.
Photograph before removal. One image of the unit in place and powered shows what the operator actually saw, and one image of the removed part with its marking readable shows which component is being claimed. Both are cheap to take and almost impossible to reconstruct later, and they are the two items most often missing when a supplier challenges a claim.
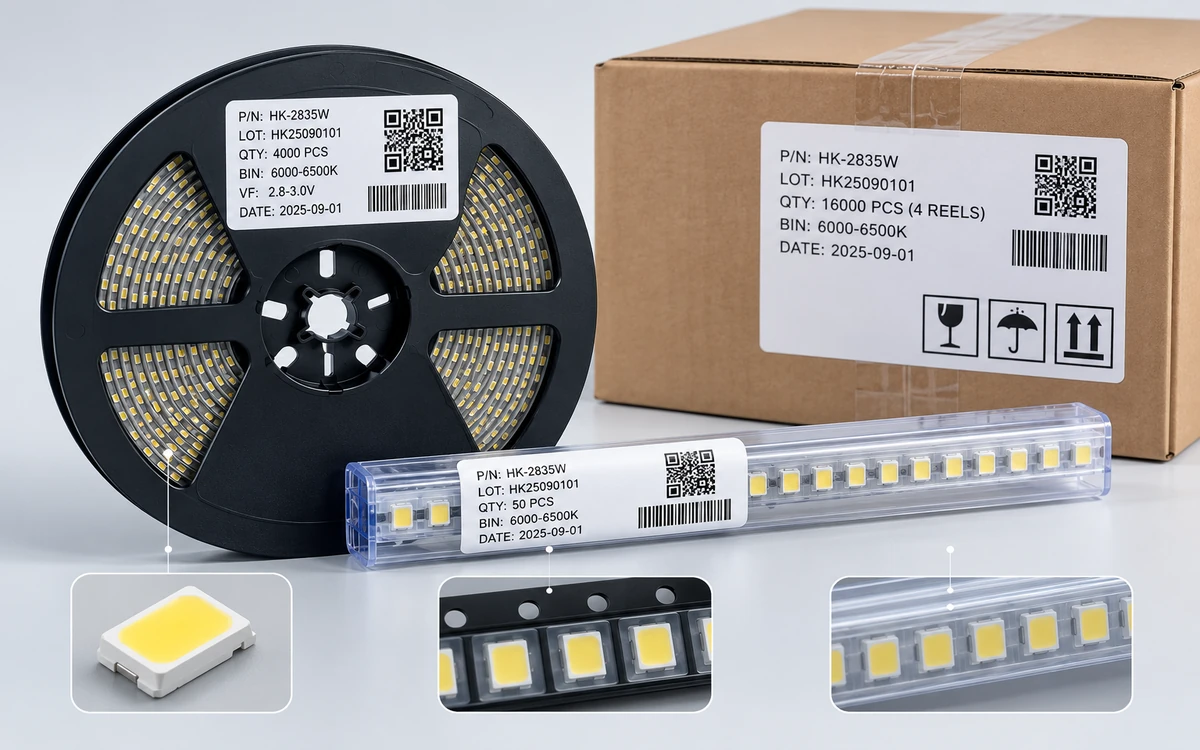
Pull the traceability record at the same time. The reel label, the date code, the incoming inspection result and the build order tie one failed unit to a population, and that population is what turns a single sample into a lot question. How to keep that chain intact is set out in LED lot traceability, and it is worth reading before the first claim rather than during it.
What the RMA Submission Should Contain
A submission that an analyst can work from fits on one page plus attachments. The table below lists the fields that carry weight, the reason each is needed, and the failure mode that appears when it is left out.
| Submission field | Why the analyst needs it | What happens without it |
|---|---|---|
| Date code and lot number | Links the sample to a production population | The finding cannot be extended to the rest of the lot |
| Quantity failed against quantity shipped | Separates a defect from a wear-out or application pattern | Single units and systematic failure look identical |
| Measured drive current and duty cycle | Tests the sample against its rating before any dissection | An overdrive conclusion is reached by assumption |
| Ambient and board temperature | Sets the thermal context of the failure | Thermal causes are missed or wrongly assigned |
| In-situ and removed-part photographs | Records the symptom before handling changes it | The reported symptom cannot be reproduced or checked |
| Assembly and rework records | Separates component causes from process causes | Every finding defaults to the component |
| ESD and handling controls in force | Rules in or out a handling-induced failure | Latent damage is indistinguishable from a defect |
| Requested analysis scope | Defines what counts as a complete answer | The report answers a different question than the one asked |
Two of these fields do most of the work. The measured drive condition is what allows the supplier to compare the sample with its own specification instead of the buyer's description, and the requested scope is what prevents a report from closing on a visual check alone. A submission that states both is harder to answer vaguely, which is the point.
Sample Selection and Shipping Conditions
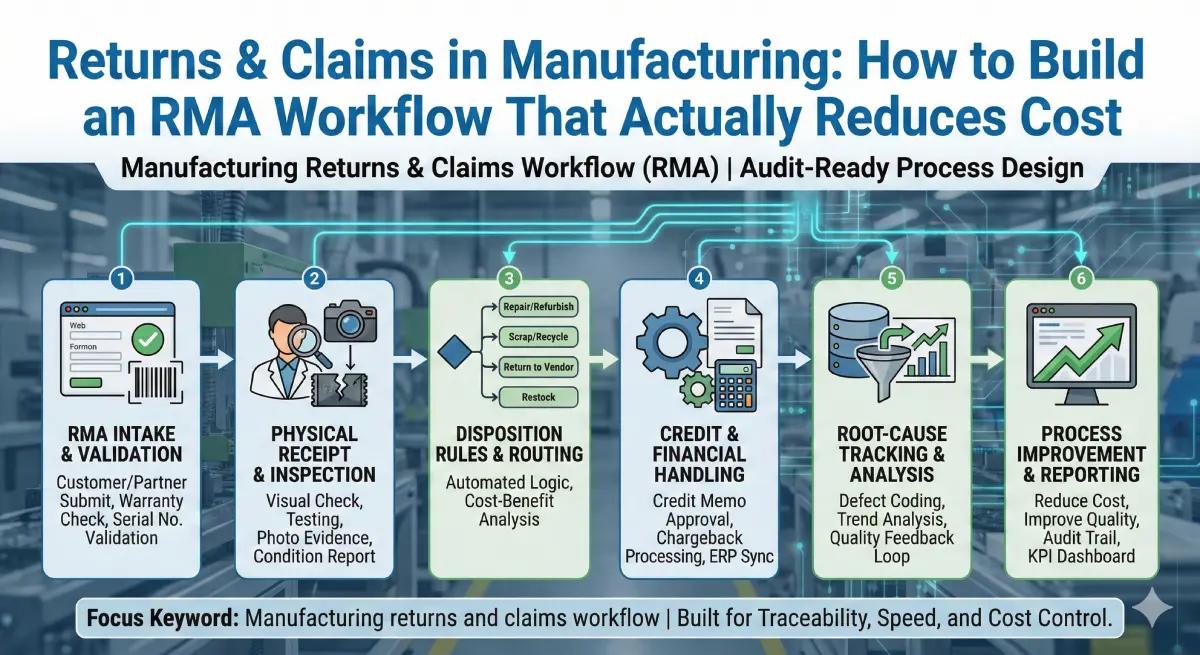
Send a population, not a specimen. Most analyses need a comparison, so the return should include the failed units, at least one unit from the same lot that still works, and a unit from a lot that has no history of the problem if one exists. Two or three failed units from different positions on the board also show whether the failure follows the component or the location.
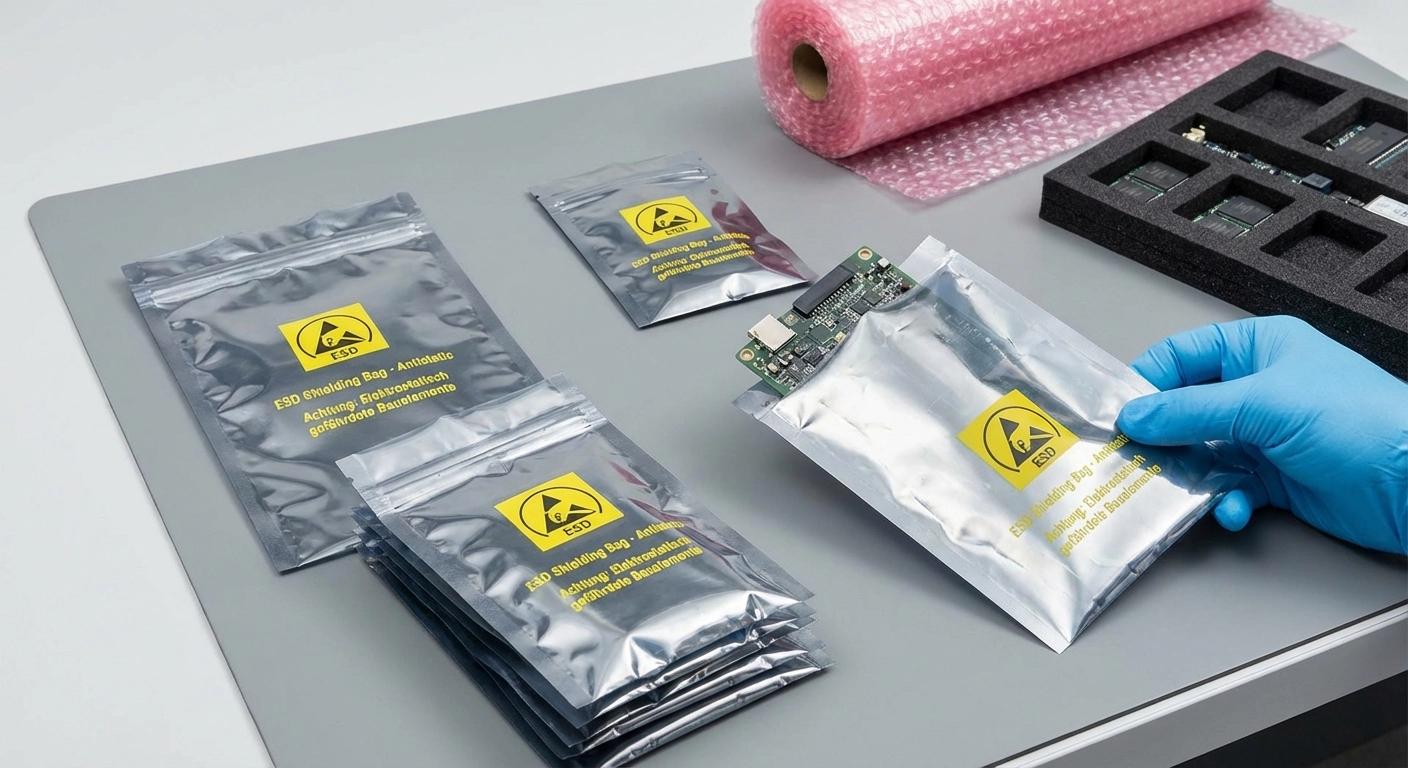
Match the shipping class to the reason the parts are being returned. If moisture or handling is part of the question, the parts must travel in the same packaging class as the original delivery, with a moisture indicator and an ESD bag, because a part that absorbs humidity in transit can arrive in a worse state than it left. If mechanical damage is the question, the packing itself has to be rigid enough that the finding is not created by the courier.
Keep a chain of custody record. Who packed the parts, when, in what packaging, and what was written on the outer label are all part of the submission, and they are what a supplier will ask about first if the received condition does not match the described condition. Photograph the sealed package as well; it takes one image and settles the most common dispute in the whole process.
What the Failure Analysis Report Should Return
The report should state which techniques were applied, in what order, what was observed at each step, and which conclusion each observation supports. External visual inspection, X-ray, curve trace, decapsulation and spectrum measurement answer different questions, and a report that names the conclusion without naming the technique cannot be reviewed by anyone.
The disposition should resolve to one of a small set: confirmed component defect, confirmed assembly or application cause, no fault found, or inconclusive with a defined next step. Those four outcomes lead to four different buyer actions, and a report that ends with an assertion of misuse and no measurement has not produced a finding at all.
Where the disposition is a component defect, the report is the input to corrective action rather than a replacement for it. The structure that a usable corrective action report should follow, and the way to verify it before closing, are covered in LED 8D corrective action reports. Reading the two documents as one sequence avoids the common outcome where the analysis is accepted and the cause is never removed.
Acceptance Criteria and the 8D Handoff
Agree the acceptance criteria before the samples ship, not after the report arrives. The list needs to say what evidence makes a finding acceptable, which dispositions require a corrective action request, and what happens when the conclusion is inconclusive. Criteria written in advance are the only defence against a report that is technically polite and operationally empty.
The acceptance should also fix the population question. If a lot is implicated, the finding has to state whether the whole lot is affected or only a portion of it, and on what sampling basis. That statement is what lets a buyer decide between a screening inspection and a full replacement, and it belongs in the RMA record rather than in a separate email.
Where the cause turns out to be an incoming condition rather than a design condition, the fix usually lands in the receiving process. The checks that catch a drifted lot at the door are described in LED incoming inspection, and they are cheaper than a repeat claim. Where the cause is a change on the supplier side, the obligation to notify belongs in the LED supplier quality agreements, since a claim raised after an undisclosed change is a contract question as much as a technical one.
Closing the loop means writing the outcome where the next project will find it. A confirmed cause belongs in the design rule, the incoming checklist or the approved vendor record, depending on where it originated. Under Supplier Change & Quality Management, that written outcome is the deliverable, and the replacement parts are only the side effect.
Common Ways a Claim Loses Its Value
- Sending one sample, so no comparison is possible and the finding stays at the level of an observation.
- Cleaning or reworking the unit before documentation, which removes the very conditions that explain the failure.
- Describing the failure in prose instead of recording the measured drive current, duty cycle and temperature.
- Omitting the requested scope, which lets a visual inspection be returned as a complete analysis.
- Accepting a disposition of misuse without a measurement, which closes the claim and leaves the cause in place.
Each of these is a documentation failure rather than a technical one, and each is cheap to prevent at the point of failure and expensive to correct afterwards. A buyer who fixes the first two will usually find that the remaining three stop recurring.
Frequently Asked Questions
What causes problems related to LED RMA failure investigation?
The usual cause is missing evidence rather than a difficult failure: no lot code, no measured drive condition and no photograph of the symptom. The second most common cause is sending a single sample, which prevents the comparison an analyst needs.
How to troubleshoot LED RMA failure investigation in an LED design?
Start from the symptom and the operating condition rather than from the part number, then separate electrical, thermal and mechanical possibilities using the sample population. The classification step itself is covered in the guide to common LED failure modes, which keeps the submission and the diagnosis in the right order.
Which measurements help diagnose LED RMA failure investigation?
Forward voltage at a known current, reverse leakage, spectrum output and junction temperature estimate are the four that carry the most weight. Recording them on a known-good unit from the same lot at the same time makes the comparison meaningful.
How to verify the fix for LED RMA failure investigation before production?
Re-run the same measurement set on the corrected parts under the same conditions, and require the corrective action to state which parameter moved and by how much. Verification is complete when the original failure can no longer be reproduced on a sample built to the corrected process.
Does a small failure quantity justify skipping the RMA process?
No, because quantity is exactly what the investigation is meant to establish, and a single unit can indicate a lot condition. A short submission costs far less than discovering the pattern after the next build.
Conclusion: The Claim Is Won or Lost Before the Parcel Ships
An investigation can only return what the submission allows. Preserved samples, recorded drive conditions, a population to compare against and a stated analysis scope are what separate a finding from a replacement, and all four are produced by the buyer before anything is shipped.
If you are preparing a claim on a custom LED display or emitter and want the submission checked against what an analysis can actually answer, send the evidence pack to the HOUKEM team and we will confirm the scope that applies to the part you are sourcing.
LED Supplier Forecast Capacity Planning: What Buyers Should Ask Before Committing Volume